Preparing Your Property for a Photography Shoot
A well-prepared property gives a photographer far more to work with, and it’s one of the simplest, lowest-cost ways to improve the final quality of a set of listing images. A few straightforward steps taken before the shoot can noticeably improve the results, often more than most owners and agents expect.
Preparing Bedrooms and Living Areas for Professional Photography
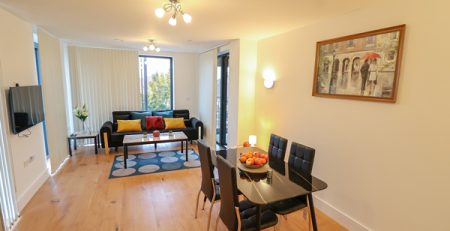
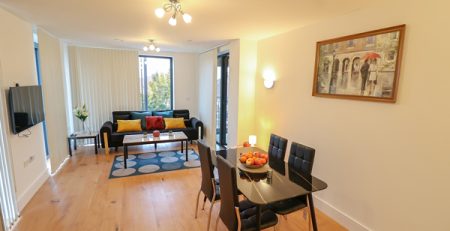
Tidy cushions, straighten throws, make beds properly with clean linen, and clear away everyday items like charging cables, remote controls and personal belongings so each room photographs cleanly from a natural viewing angle.
Small items left out of place are far more noticeable in a still photograph than they are in person, because a photo forces the eye to focus on details that would otherwise go unnoticed in a quick walk through the room. Taking ten minutes to reset each living space and bedroom before the photographer arrives makes a genuine difference to the final images.
Presenting Kitchens and Bathrooms for Property Photography
Clear worktops completely, put away small appliances such as kettles and toasters, and remove cleaning products and bins from visible areas so each room looks genuinely usable rather than staged or overly bare.
Towels and toiletries in bathrooms should be tidy and, ideally, colour-coordinated where possible, since a cluttered bathroom counter is one of the most common distractions in property photos. These two rooms, along with living areas, are typically the highest-priority spaces for buyers, so it’s worth giving them extra attention during preparation.
Getting Light, Curtains and Windows Ready for Property Photos
Open curtains and blinds fully, clean the glass on both sides where possible, and turn on selected lamps to fill darker corners of each room before the photographer starts shooting.
Good natural light is one of the single biggest factors in how a room photographs, so this step matters considerably more than many owners expect. A room with dirty windows or half-closed blinds can look noticeably duller in photos than the same room with clean windows and fully opened curtains, even though the difference in person might seem minor.
Property Photography Tips for Garden and Outdoor Areas
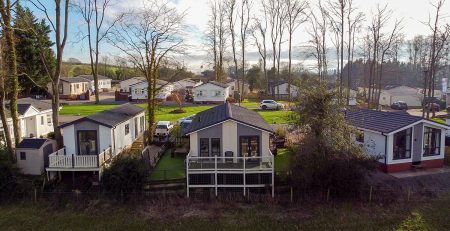
Cut the grass, tidy garden furniture into a natural arrangement, clear pathways of any obstructions, and remove obvious clutter from patios, decking or balconies so outdoor space photographs as a genuine extension of the property rather than an afterthought. Gardens are increasingly important in property marketing, and a tidy, well-presented outdoor space can meaningfully increase buyer interest, particularly for family homes.
Everyday Distractions Worth Removing
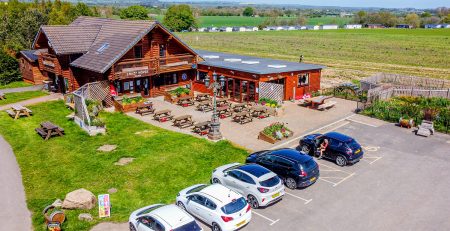
Bins, laundry, cleaning products, pet items, excess ornaments, personal photographs and loose cables are among the most common distractions that end up visible in property photos if not removed beforehand. Cars parked directly in front of a property can also obstruct an otherwise strong exterior shot, so it’s worth arranging for vehicles to be moved elsewhere on shoot day wherever possible.
Simple Day-of Checklist
Here is the simple day checklist:
- Rooms decluttered and beds made
- Kitchen worktops cleared
- Bathrooms cleaned and tidy
- Curtains and blinds opened, windows cleaned
- Lights checked and turned on where needed
- Garden tidied and pathways clear
- Cars moved where they block the property
- Personal items put away
Why Preparation Should Never Be Rushed?
Rushing preparation on the morning of the shoot, rather than doing it the evening before, often leads to small details being missed under time pressure. Giving yourself enough time to walk through the entire property calmly, room by room, checking against a simple list, produces far more consistent results than trying to tidy everything in the final ten minutes before the photographer arrives.
This is particularly true for tenanted properties or homes still occupied by the current owner, where daily life inevitably leaves items out that need to be addressed before photography begins.
Preparing Smaller, Often Overlooked Spaces
Hallways, landings, utility rooms, storage areas and home entrances are frequently overlooked during preparation, yet they still appear in a full property gallery and can create a poor impression if left untidy. Giving these smaller spaces the same basic attention as the main rooms, clearing shoes, coats and general clutter, ensures the entire property feels consistently well presented from the moment a buyer starts browsing through the full set of images rather than just the headline rooms.
Coordinating Preparation With Tenants or Occupants
Where a property is still occupied, either by tenants or the current owners, it helps to share the preparation checklist with them well in advance of the shoot date, rather than assuming everything will be ready on the day. A short conversation beforehand about what’s needed, ideally combined with a written reminder, generally leads to a noticeably better-prepared property than simply turning up and hoping the space is camera-ready without any prior communication.
Ready to prepare your property for its photography shoot? ZM Media provides professional property photography for residential and commercial properties across London and Surrey. Visit our photography service page to learn more about what’s included, or use the make a booking page when you’re ready to schedule your photography session. You can contact us at 020 3950 8880, or visit our office:
London: Suite 213, The Light Bulb,
1 Filament Walk,
London SW18 4GQ.
Our team will work with you to create professional images that present your property at its best.